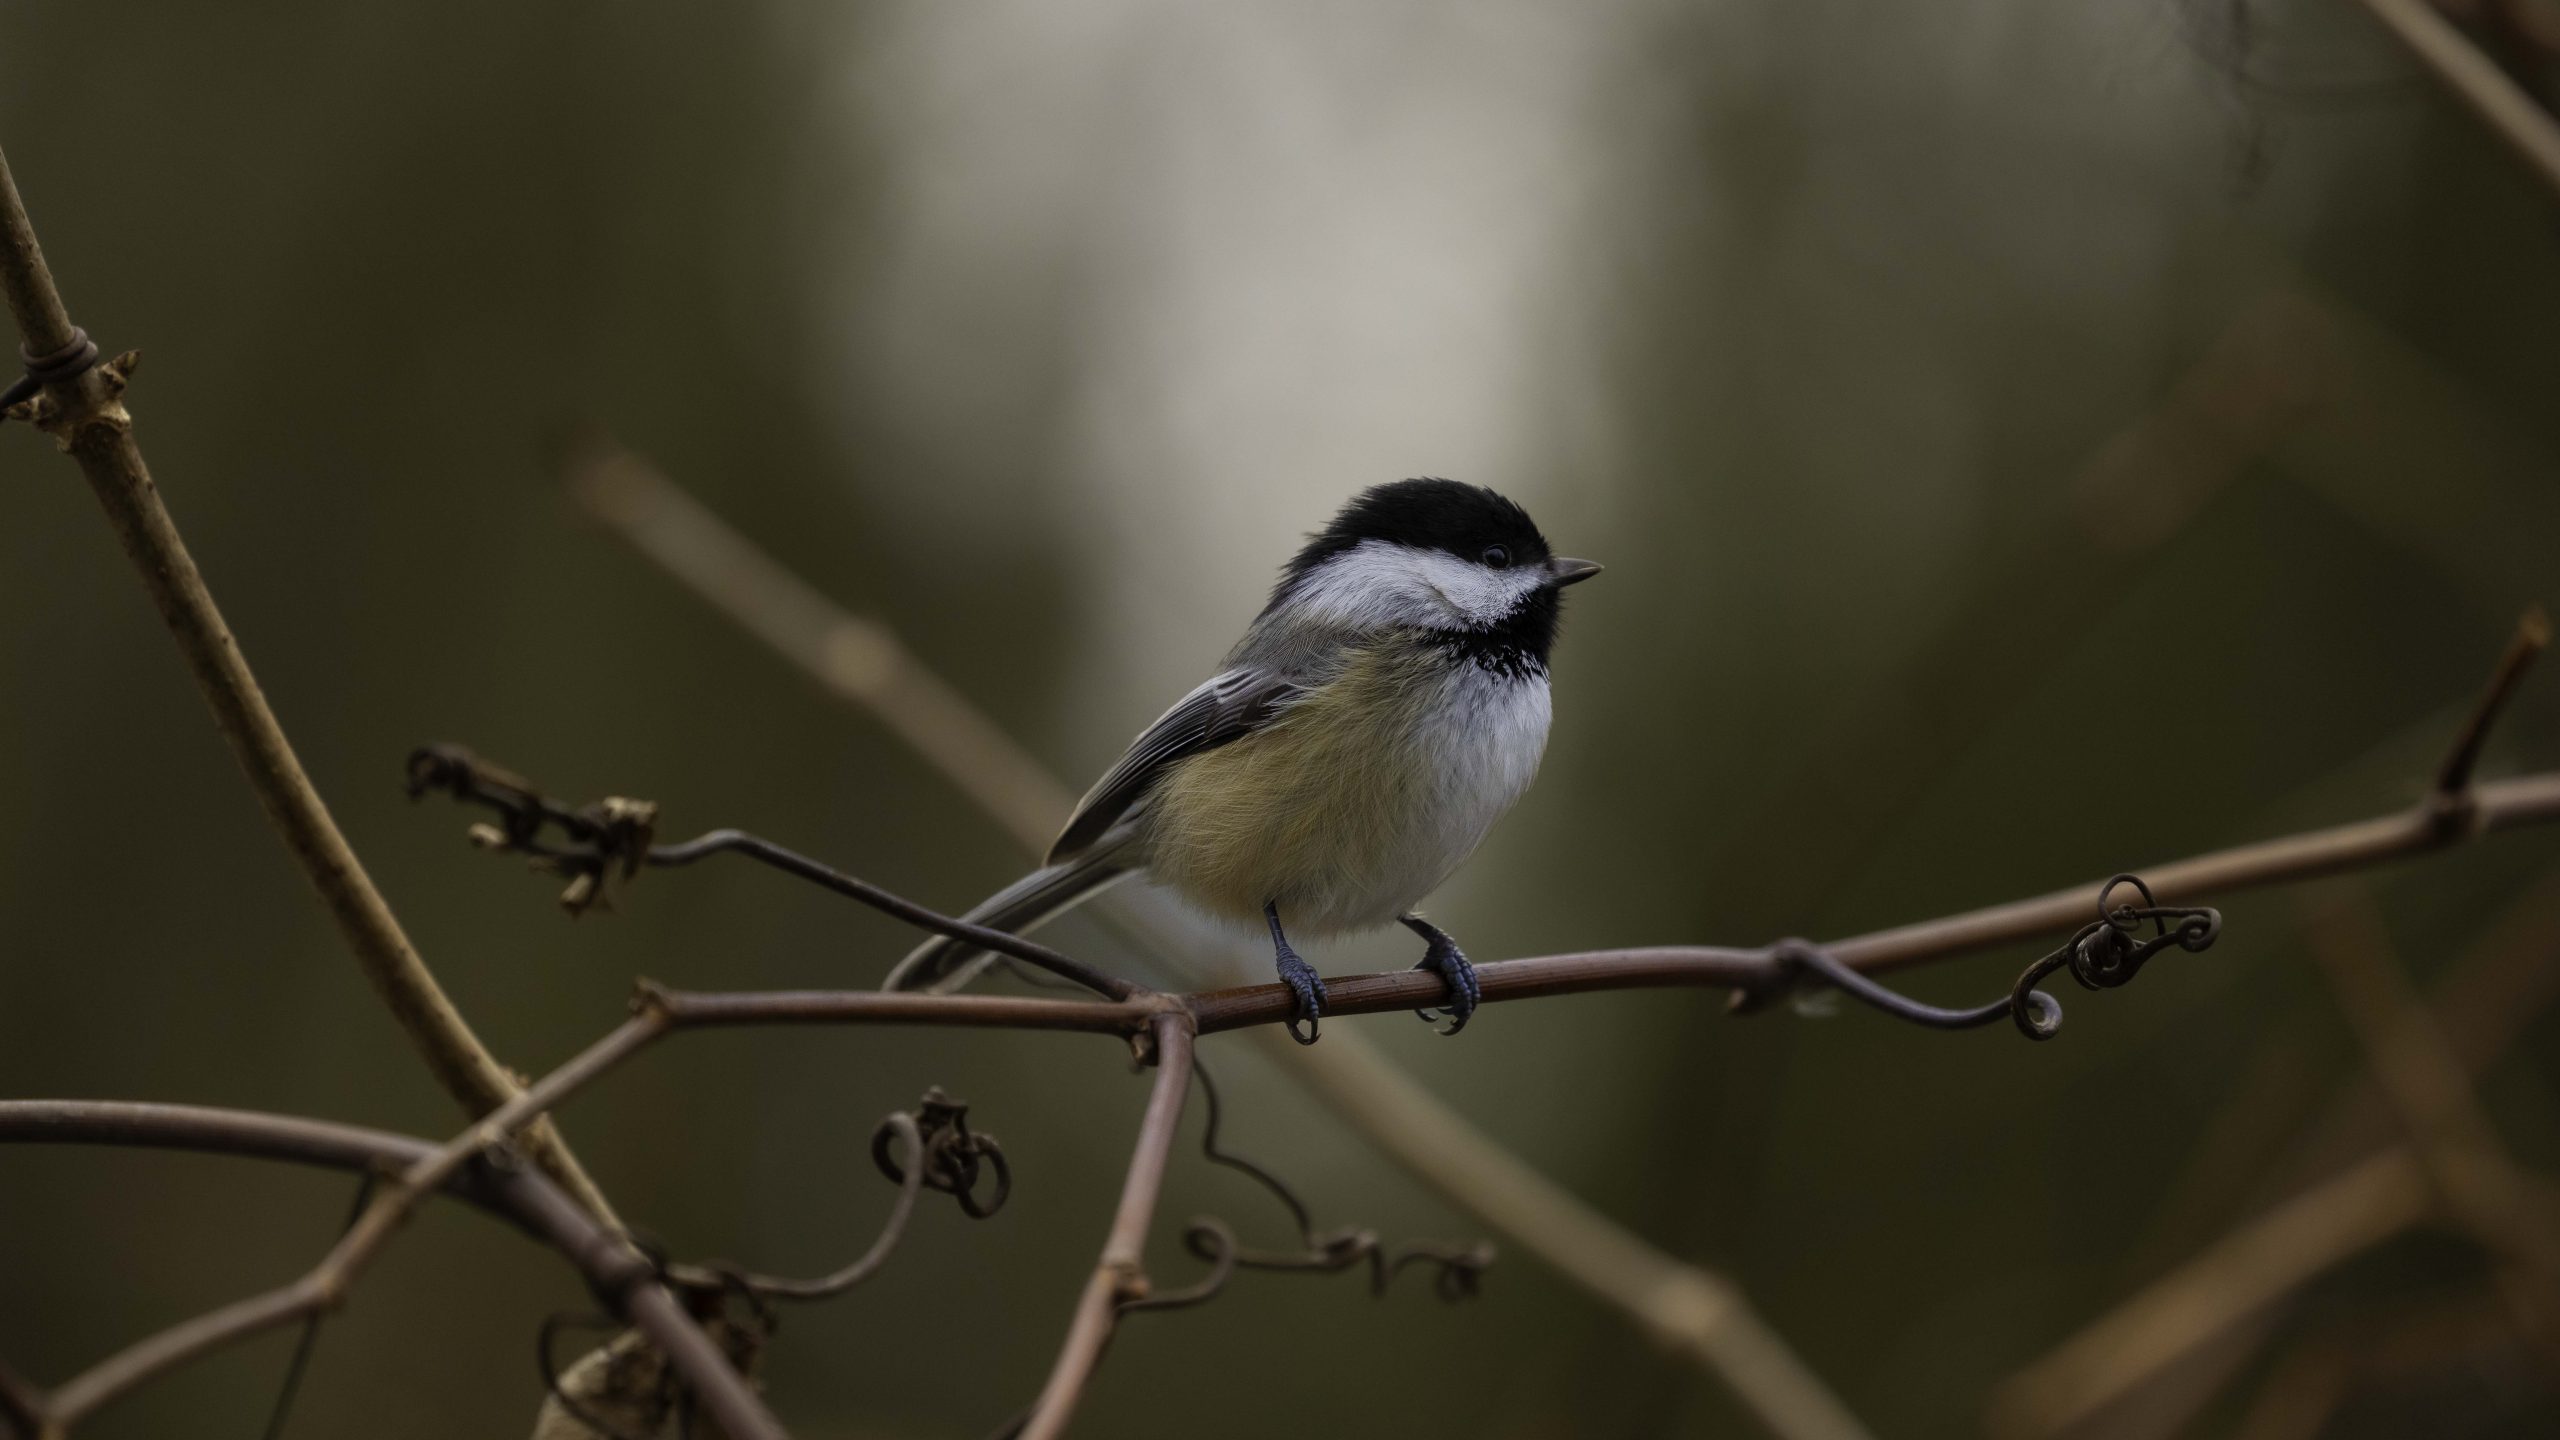
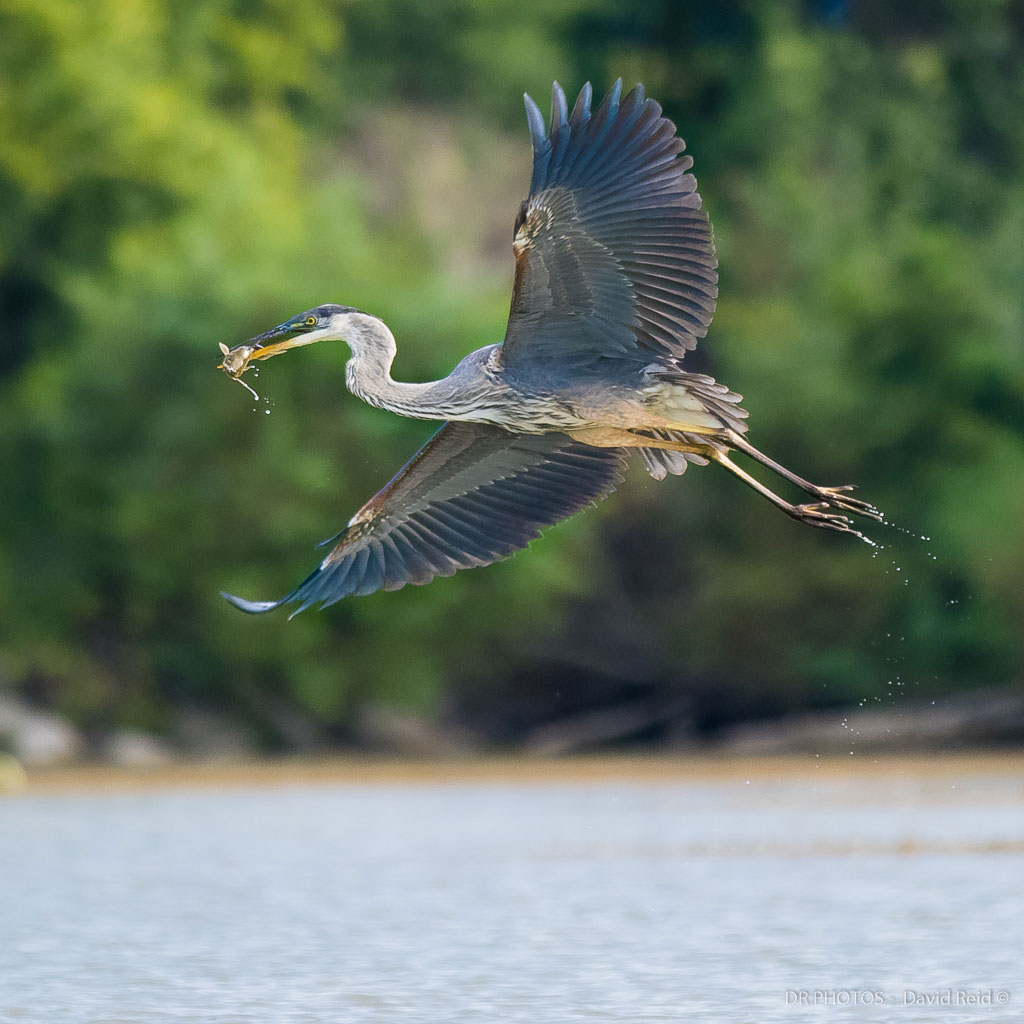
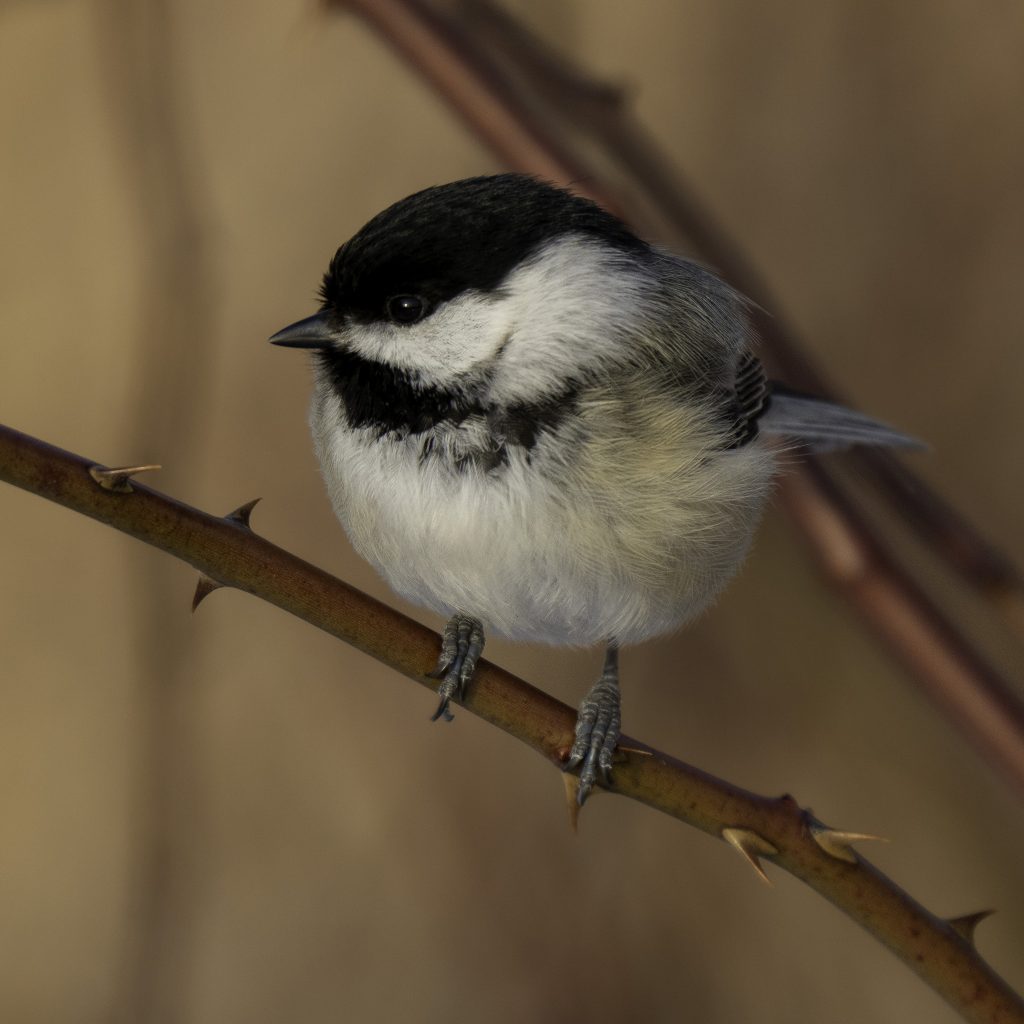
If you’re trying to figure out the best camera for bird photography, stop looking at studio benchmarks. The real test isn’t a static target; it’s a black-capped chickadee exploding off a pine branch at lightning speed.
When you are tracking little bird photography, your margin for error is zero. If your bird photography settings aren’t locked in before you lift the lens, you’re going to end up with a memory card full of beautifully sharp, empty branches.
Below is the exact technical blueprint for freezing the fastest birds in your area, regardless of whether you’re shooting on flagship glass or a crop-sensor body.
What are the best bird photography settings for fast little birds?
To freeze fast little birds like chickadees, use a minimum shutter speed of
1/2500s to 1/3200s, an aperture wide open at f/4 or f/5.6 to isolate the subject,
and Auto ISO with a minimum cap of 3200 to maintain exposure. Set your camera
to its maximum continuous high frame rate and use Zone or Tracking Expand Flexible
Spot autofocus targeting the bird's eye.
The Gear Reality: Sony A1 vs. Canon R7 vs. Nikon Z8
Let’s be honest about the gear. You don’t need a $6,500 flagship body to take incredible images, but you do need to know the limits of the system in your hands.
- The Flagship Tier (SONY a1 / nikon z8): If you are fortunate enough to be shooting with a stacked-sensor powerhouse like the SONY a1 or a nikon z8, your autofocus tracking handles most of the heavy lifting. The real trick here is matching your frame rate to the erratic movement. For tiny birds, unlock the full electronic shutter potential to catch the micro-movements between wingbeats.
- The High-Value APS-C Tier (canon r7 / canon r10): The crop factor on the canon eos r7 gives you incredible reach with a lighter bird photography lens. However, the sensor density means you need to be highly critical of your noise levels. If you’re pushing past ISO 3200 on a canon r7, you’ll want to ensure you’re exposing to the right (ETTR) to keep the shadows clean.
- The Full-Frame Workhorse Tier (canon r5): High-megapixel bodies like the canon r5 allow you to crop deeply into a small subject, but remember that camera shake is magnified when you have 45+ megapixels. Your hand-holding technique needs to be flawless.
Struggling with a blurry frame? Check out our field-tested breakdown on [How to Diagnose and Fix Blurry Bird Photos In the Field] to figure out if your issue is motion blur or missed focus.
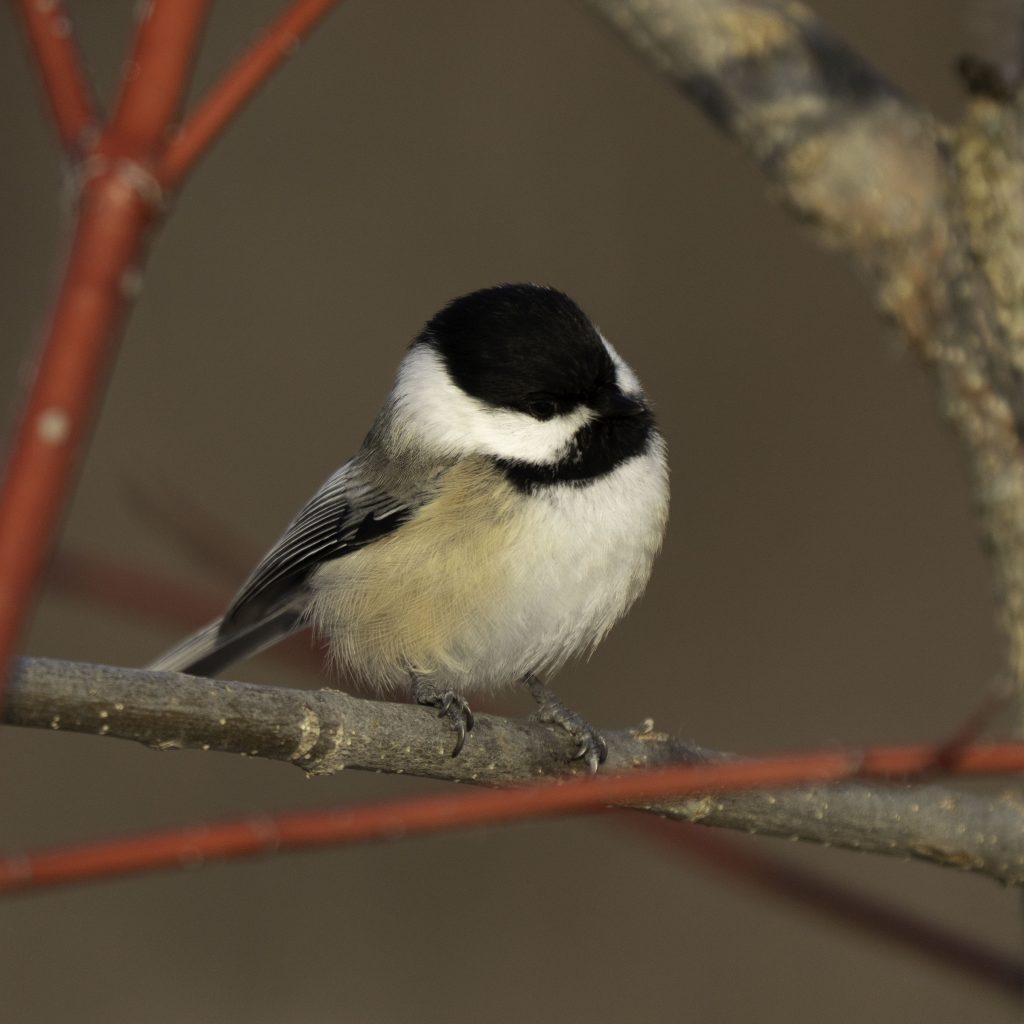
The Only Bird Photography Settings That Matter For Chickadees
Forget the automated modes. If you leave your choice of lens for bird photography to the camera’s auto-decisions, the background foliage will trick the sensor every single time.
1. Shutter Speed: 1/2500s is Your Baseline
A chickadee doesn’t fly; it darts. If you think 1/1000s is fast enough because you read it in a basic manual, you’re going to get motion blur across the wings. Punch it up to 1/2500s minimum, and don’t hesitate to dial it to 1/3200s if the morning light allows it.
2. Aperture: Isolate the Chaos
To make a small bird pop from a messy background of branches, shoot wide open. If you’re using a prime best lens for bird photography like a 600mm f/4, stay at f/4. If you’re on a versatile zoom like a sigma 150-600mm or a standard 100-400mm, keep it at its widest maximum aperture at the telephoto end.
3. Autofocus Customization
Don’t use full-screen auto area AF; a small bird behind a few pine needles will cause the lens to hunt endlessly. Switch your mirrorless system to an expanded spot or a small zone tracking mode. Place the point on the bird, initiate tracking, and let the animal eye-AF lock in.
For a full deep-dive into customizing your custom buttons for sudden action, see our complete guide on [Setting Up Your Camera’s Custom Functions for Wildlife Success].
Field Technique: How to Stop Missing the Shot
Even if you have the absolute best cameras for bird photography, you will fail if your field craft is sloppy. Small birds are highly reactive to sudden, vertical movements.
Instead of bringing the camera up to your eye rapidly when the bird lands, keep the camera already raised at mid-chest level. Minimize your silhouette, use surrounding cover, and track the bird through your peripheral vision before looking through the EVF.
Sometimes, standard long lenses aren’t the only tool to help you read the field. If you are struggling to spot and track small targets before they vanish, changing up your approach to scouting can change everything. Check out this field breakdown where we test alternative optics to see if they can give your main setup an edge:
Can This Spotting Scope Make You a Better Bird Photographer?
In our latest field video, we stress-test a unique setup to see if it can genuinely save you from missing sudden avian action in dense bush.
- Watch the full video: Can This Spotting Scope Make You a Better Bird Photographer?
- The Blueprint: Learn the core scouting habits that help you predict where a bird will land before you look through your 600mm lens.
What’s in Your Bag?
Whether you’re shooting on a legacy nikon d500, upgrading to a modern mirrorless system, or trying to maximize a budget-friendly setup, the secret is knowing your gear’s breaking point. Don’t let a textbook definition dictate how you shoot. Get out into the brush, push your shutter speeds past your comfort zone, and embrace the grit of the field.
Get real-time field insights, raw camera setups, and direct photography breakdowns behind the scenes:
- Follow the journey on Instagram: @DRPhotos — Raw, unedited field stories and daily wildlife tracking updates.
- Subscribe on YouTube: DR Photos Channel — Straightforward gear stress-tests, settings tutorials, and zero-nonsense technical guides.